You will be installing a 220Ω resistor into R24. How do you know it's 220Ω? It's simple: just read the color codes!
Color codes are a not-so-intuitive way to determine the value of a resistor.
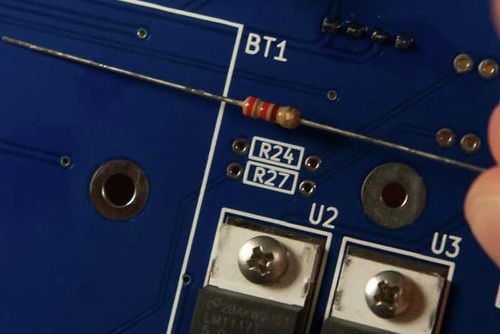
So let's check out the resistor in question. How do we know it's 220?
Parts Needed
- 1 x 220Ω resistor
Instructions
Resistor
- Find the footprint on the board.
- Bend the leads as closely as possible at the base, so you can make sure it fits on the board without having to force it.
Insert the resistor into R24.
Resistors are NOT polarized
It doesn't matter which direction you install the resistor; it will work just the same.*
*That said, it would look nice to have them all facing the same direction...
- Bend the leads outward to help hold the resistor against the board.
- Solder the resistors into place.
- Trim the leads so that they are flush with the surface.
