Now that everything is all good and assembled, let's put on the back pane cover plate so that no dirty fingers will be touching your LameStation. The cover plate is the big plastic hunk that came in your kit.
Tools Needed
- Phillips-head screwdriver
Parts Needed
- 1 x Cover plate
- 4 x Hex standoffs
- 8 x Screws
- 4 x AAA batteries (not included with kit)
- 1 x Thumbstick cap
Instructions
- Peel the plastic off of the
...
- cover plate. Be careful not to put your grimy fingers on the inside of the glass, because it will stay there forever! Make sure you mount it cleanly and carefully.
...
- INSERT PICTURE OF REMOVING PLASTIC
- Screw on the standoffs on like with the LCD
...
- , but this time, on the back side.
- Place the
...
- cover plate down, being careful to orient it so that the logo is upright and the batteries are accessible.
...
- Screw the back piece onto the standoffs, starting with opposite corners so that it's easier to position correctly.
...
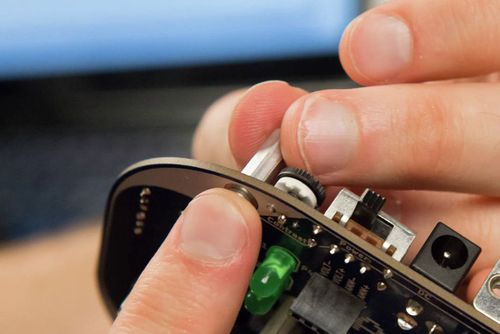
- Now is a good time to add the thumbstick cap onto the joystick, making sure to line up the hole with the post.
- Optional: If you have 4 AAA batteries, you can install them right now too.