...
Parts Needed
- 1 x LCD module
- 4 x standoffs
- 8 x screws
Instructions
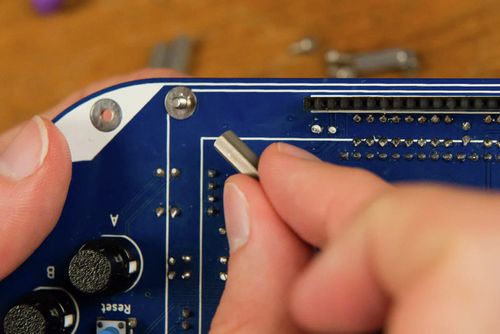
- Find the four holes for the LCD standoffs.
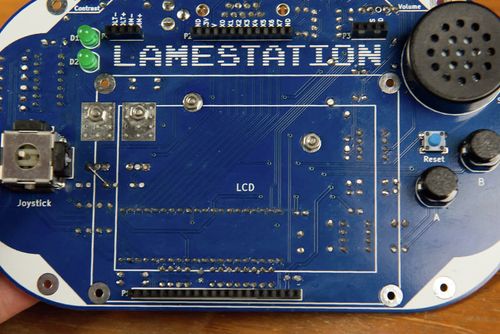
- We need to install the standoffs on the top side of the board, so the screw will be inserted on the back, to poke out the front.
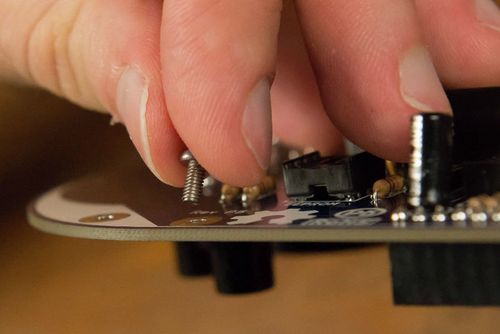
- Screw the standoff into place, using your finger to hold the screw.
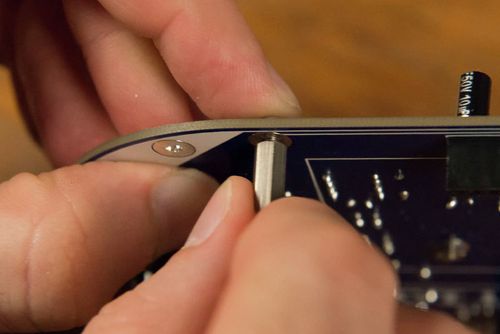
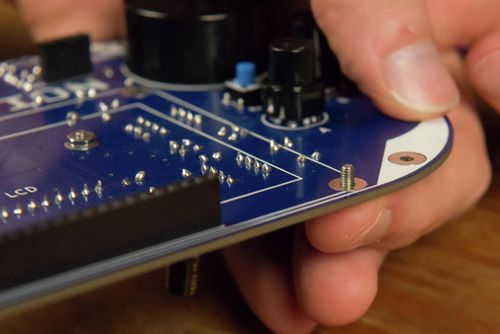
- The standoff should be held firm against the board.
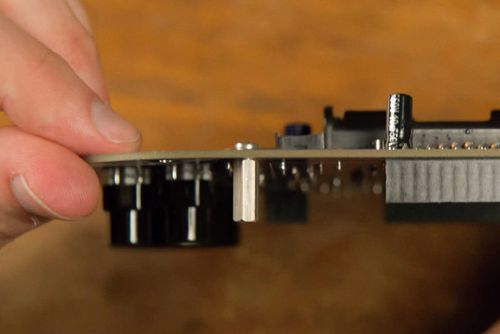
- Repeat steps 2-4 for the remaining standoffs.
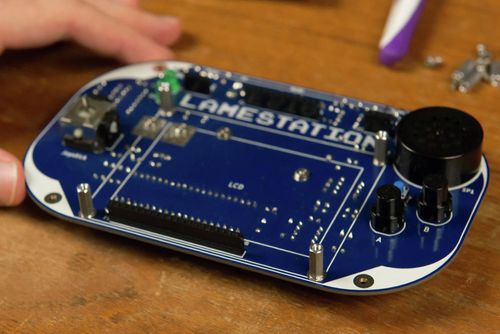
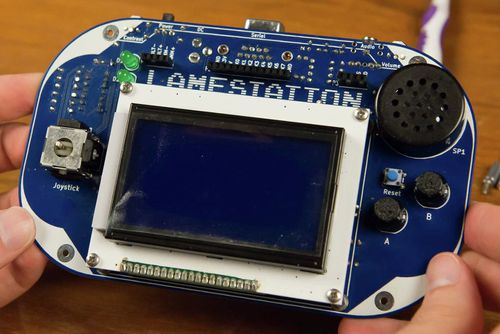
- Seat the LCD down on its grand throne.
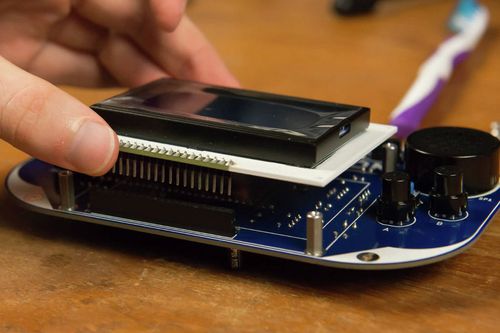
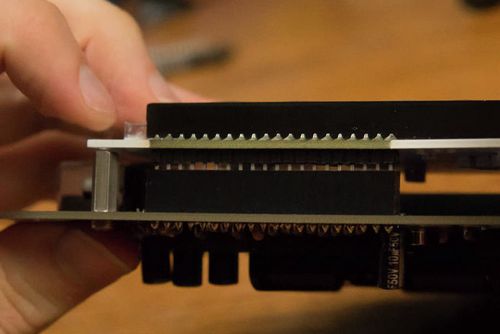
- Press the LCD down firmly. There will be a small gap in between the header and socket; this is normal.
- Use the remaining four screws to securely attach the LCD to its standoffs.
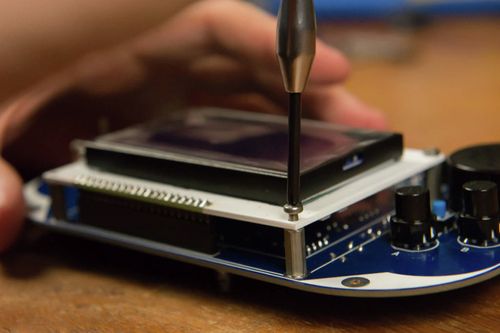
- Now your LCD is securely fastened and ready to enjoy a Lame Ride!